


In-home Bertazzoni repair across the San Francisco Bay AreaMon–Sat 8 AM – 7 PM
A damp shelf under a built-in coffee machine rarely announces where the water started. Here is how to trace it from the outside and protect the cabinetry meanwhile.
Repair guide
A built-in coffee machine sits in a tall cabinet or a wall niche, which means a leak has plenty of places to hide. Water travels along shelves, wicks into wood edges and shows up at a spot far from the source. By the time you notice a swollen panel or a musty smell, the leak may have been going for days.
Switch the machine off at its normal control and, if you can do it safely without reaching into a wet area, shut the water supply valve that serves it. Do not run another drink to see what happens. If there is any chance water touched an outlet, a power strip or a plug behind the unit, leave that circuit alone and turn it off at the breaker only if the panel is dry and easy to reach.
Take photographs of the wet area before you wipe it. Then dry the cabinet with towels, remove any stored items, and run a fan to dry the shelf. Moisture trapped under laminate is what turns a small leak into a swollen cabinet.
Coffee machines move water through a reservoir or supply line, a pump, a heater, a brew unit and a drain path. The pump pushes water at pressure toward the heater, so a seal that is only slightly worn can seep under pressure but stay dry when the machine is idle. Leaks usually fall into a short list of origins.
Condensation can mimic a leak, particularly on a cold morning when a large amount of steam is released in a closed niche.
With the cabinet fully dry, put a layer of white paper towel or a clean tray under the machine and note the moment water reappears. A drop only after a rinse points to the drain or brew path. A drop that appears while the machine is idle suggests a supply connection or the reservoir. A drop only when you empty the tray indicates spillage rather than a failing part. The same drip-tray reasoning applies to the waste container, which collects used grounds and liquid and can brim over when it is pulled out.
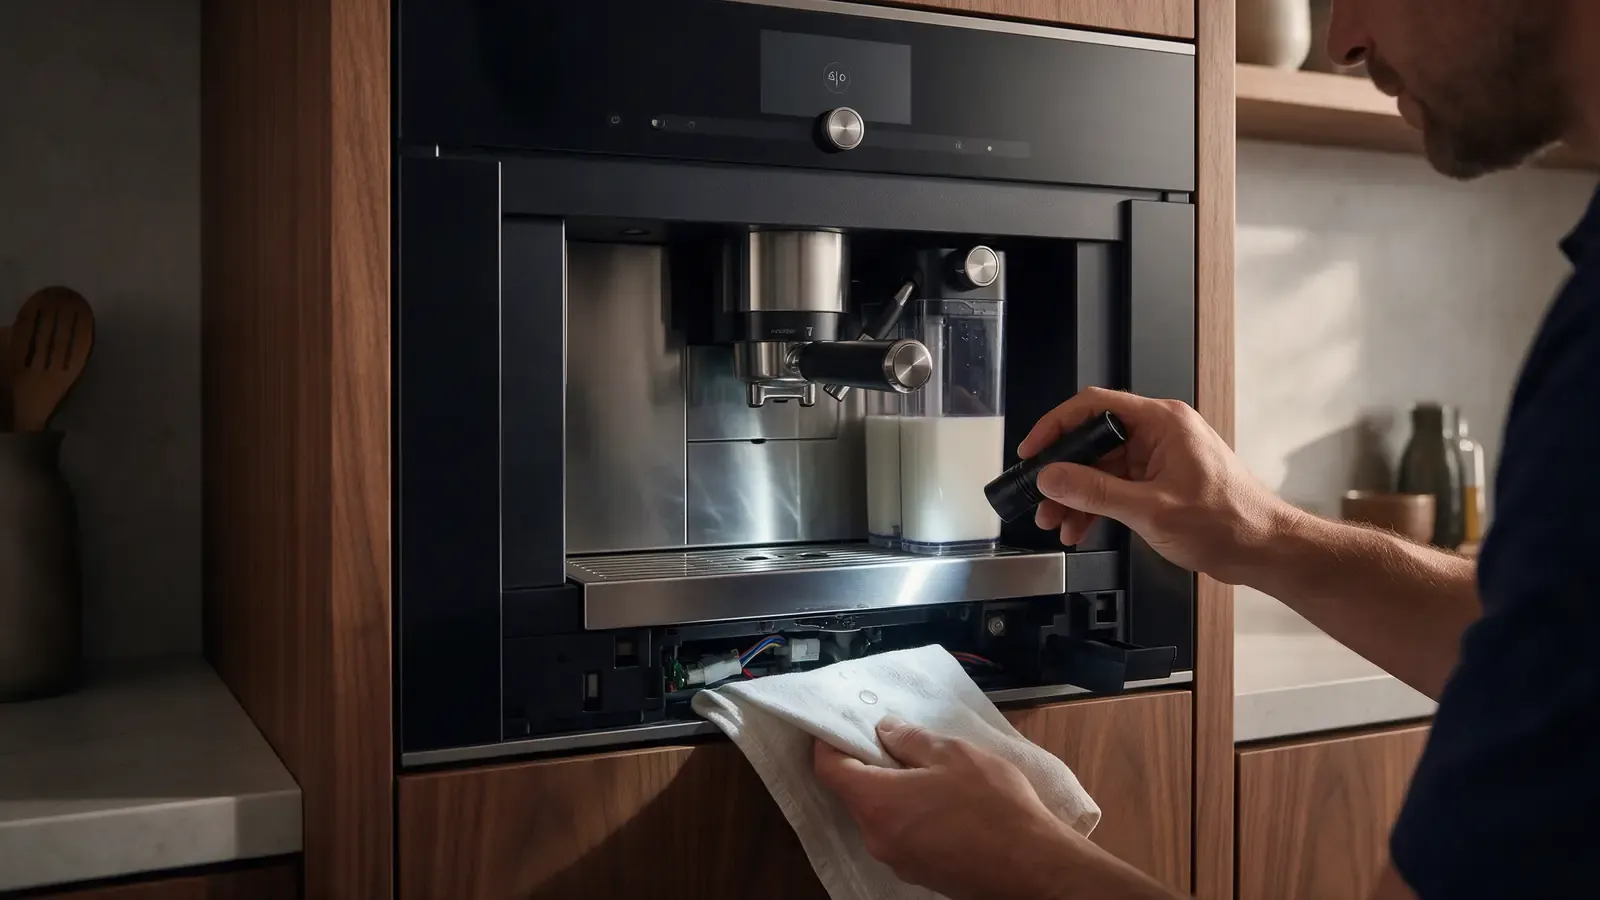
Look from the outside at the connections you can see without removing panels. A damp collar at a hose fitting, a bead of water at the base of the reservoir, or a stain on one side only often tells the story. Water that follows a hose to its lowest point can drip from a spot well away from the actual joint, so a damp fitting is a lead rather than proof. Take a flashlight photo of what you find. See Bertazzoni coffee brew unit stalls for what a stalled brew can leave behind.
You can reseat the reservoir, empty and reinsert the drip tray and waste container, and wipe the visible seals. Check that the reservoir clip is not cracked and that the container is not past the fill mark. If the machine was just descaled, rinse again as the manual directs, because leftover solution can foam and overflow. Descaling is the step that clears mineral buildup from the water path, and its rinse cycle exists to flush out the solution completely.
Do not unscrew panels, tighten internal connections, apply sealant, or wrap tape around a suspect hose. Heated water and steam inside the machine are hot enough to burn, and a patched joint can hide a real fault. If the machine is plumbed in, leave the supply valve closed until it has been checked.
Where the water collects says a lot. A dark ring directly below the front of the machine suggests the drip tray or the waste container. Staining along the back edge points toward the supply connection or a seal at the rear of the unit. A wet line running along the side wall means water has been traveling down a panel, so look higher than the puddle.
Smell also helps. Sour or coffee-like water comes from the brew or waste path, while clear water with no odor usually comes from the reservoir or supply side. Brown water carrying grounds is a stronger sign of the brew path than of the reservoir. Mention both in your notes, because they narrow the diagnosis before the technician arrives.
Running the machine to confirm the leak, adding more descaler hoping to clear a blockage, and leaving the drip tray overfull are the usual culprits. Another is forcing the reservoir back into place when it does not seat, which cracks the outlet seal. If a part resists, stop and check for a stray piece of debris or a misaligned seal ring.
The technician starts with the cabinet, since the pattern of staining often reveals the route. Then the machine is operated on a protected surface while water use is observed. Fill, heat, brew and rinse are separated so the leak can be tied to one stage. A leak that appears only during the heating stage is a different lead from one that appears only while coffee is brewing. Seals are examined for wear and flat spots, the brew unit is checked for correct seating, and the drain path is flushed to confirm that it does not back up.
On a plumbed unit, the supply line, valve and fittings are examined and the pressure is considered. Each finding is tied to measurements, not guessed from the stain, and the written estimate separates the repair from any cabinet work you may need. Where a seal or the brew unit is involved, the technician explains how the part relates to the symptom you described.
Water in a niche is more than a nuisance. Particleboard swells permanently once soaked, and moisture near a plug or junction box is a safety issue. Keep the machine unplugged or isolated until a technician says otherwise. If a neighboring drawer or appliance shares the cabinet, check it for water as well.
In coastal San Francisco and Pacifica kitchens, humid marine air can leave cabinet bases already prone to swelling, so a leak does more harm sooner. An inexpensive moisture alarm on the cabinet floor gives early notice in future.
If the same spot gets wet more than once, if water appears with the machine idle, or if you see any steam leaking from the seam of the casing, book a visit. The Bertazzoni Coffee Machine Repair page outlines how a visit is organized, and Bertazzoni Coffee Machines lists related symptoms. A written estimate is provided after diagnosis, and nothing is replaced without your approval.
No. Some water collects there as part of normal rinsing, but water outside the tray or under the machine is not normal.
It is better not to. A leak can worsen and damage cabinetry or reach electrical parts, so stop use until the source is found.
Yes, in a closed niche after a lot of steaming. Dry the area and watch whether water returns when the machine is idle.
Not inside the machine. Over-tightening can crack a fitting, and internal parts get hot and carry current.
The model, when the water appears, which stage seems related, and photos of the stain before cleanup.
Share a few details and we’ll confirm an appointment. Prefer to talk? Call us and we’ll help right away.