


In-home Bertazzoni repair across the San Francisco Bay AreaMon–Sat 8 AM – 7 PM
A wall oven that slowly stops matching its set temperature is rarely a sudden failure. Here is how coastal air, door seals and sensors play into it.
Repair guide
Drift is not a dramatic fault. Nobody hears a bang. Instead the Sunday chicken needs fifteen extra minutes, banana bread sinks in the middle, and the preheat tone sounds long before the cavity feels hot. Owners usually describe it as the oven being off lately, which is exactly the right instinct.
The direction matters. An oven that runs low makes food pale and slow. One that runs high scorches the top shelf while the center stays raw. Write down which you see, and on which rack, because a technician will use that detail to decide where to start. A gap that differs between the top rack and the bottom rack points toward airflow or the element, while the same gap everywhere points toward what the control believes.
Drift can also be mode-specific. Bake may behave while convection roast wanders, or the reverse. That detail separates a sensor or control complaint from an airflow or door-seal complaint, so it is worth noticing before you call.
Homes in the Sunset, Pacifica, Half Moon Bay and along the Marin shoreline live with salt-laden fog for much of the year. Moisture and salt find their way into connectors, wiring ends and metal edges. Over seasons, a connection that once read cleanly can start giving a slightly different value.
That does not mean every inland oven is immune. Dry heat in Walnut Creek or San Jose swings the kitchen temperature, and a hot kitchen can mask or exaggerate what the oven is doing. The coast simply adds one more variable, corrosion, to the usual list.
The honest answer is that climate is a contributing factor in some cases and irrelevant in others. A measured comparison between the set point and the real cavity temperature tells you which case you have.
The cavity temperature sensor is the first suspect, because the control trusts whatever resistance it reports. A sensor that has aged will report a slightly wrong number, and the oven will faithfully hold the wrong temperature. The sensor is a small probe inside the cavity whose electrical resistance changes with temperature, and that change is how the control board knows how hot the oven is. If you also see a related message, the page for the oven E01 code explains how sensor readings are treated.
The door gasket is the second. A seal that has flattened or hardened lets heat leak around the frame, so the oven fights to keep up and cycles more than it should. The third is the convection fan on models that have one; a slow or noisy fan moves heat unevenly even when the average is right. The convection fan is the fan that moves air through the cavity.
Less common are control-board calibration drift and heating-element weakness. Neither is something you can judge by eye, which is why measurement comes before any part is named.
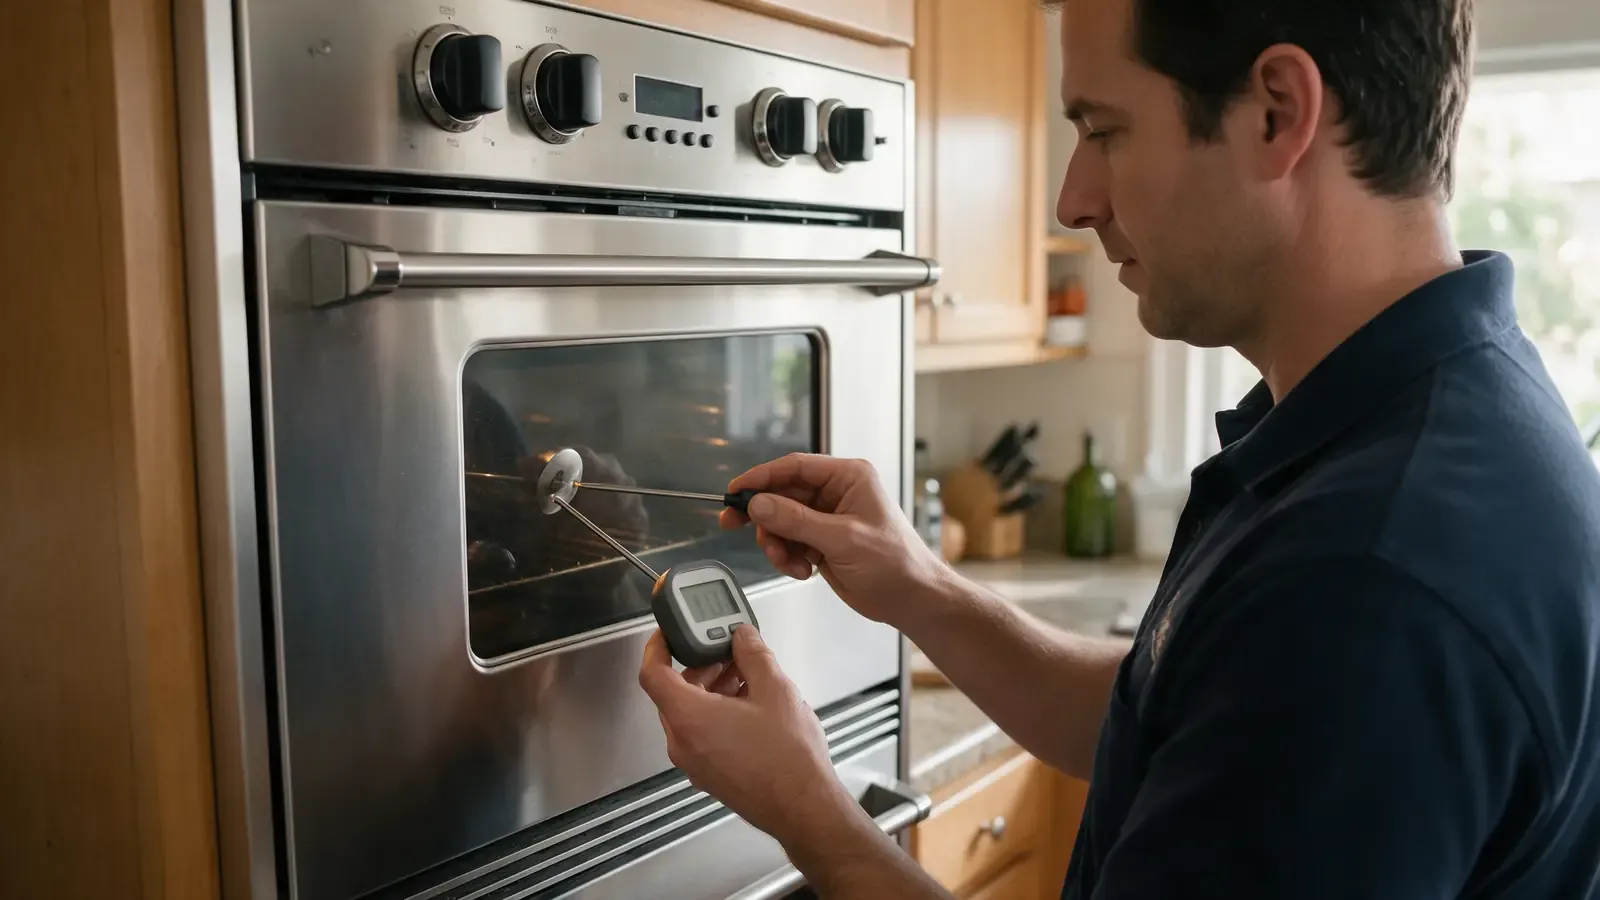
You do not need tools beyond a decent oven thermometer. Place it on the center rack, preheat to 350 degrees, and read it after the oven has cycled for at least thirty minutes. The first reading after the tone means very little.
Do not recalibrate by guessing at the control menu unless your manual walks you through it, and never remove interior panels to reach the sensor.
A visit starts by confirming the complaint with calibrated instruments rather than trust. The technician places a probe in the cavity, brings the oven to temperature in each mode, and logs how far the real number sits from the displayed one over a full heating cycle.
From there the sensor resistance is compared against the value expected at that temperature, the door seal is checked for leakage, and fan operation is observed on convection models. If the sensor is right but the temperature still wanders, the control and element become the focus. The element is the bake or broil heater and the control board decides when to power it, so testing separates a heater that is weak from a board that is switching it at the wrong moments.
Because the service ZIP and kitchen details vary, the notes also record things like tight cabinet clearance or older wiring that could influence the result. You get the findings in plain language, a written estimate, and no part is replaced until you approve it.
One reading proves little, so build a small record. Note the date, the mode, the set point and the thermometer reading after thirty minutes of cycling. Do it once at 350 degrees and once at a higher setting you use for roasting or pizza.
Three or four entries over two weeks show whether the gap is steady or growing. A steady gap often means a sensor that has settled at a new value. A growing gap suggests something degrading, such as a seal or a connection, and deserves attention sooner. Neither pattern names a part by itself, but the record tells the technician what to compare first.
Keep the thermometer in the same place each time. Hanging it from the top rack versus sitting it on the floor can differ by more than the oven drift you are trying to measure, and a cheap dial thermometer can itself be several degrees off.
Heavy loads change what the oven appears to do. A full tray of cold dough pulls the cavity down and the oven works harder to recover, so the thermometer may read low for a while even though nothing is wrong. Preheating with the pans inside also confuses readings, as does opening the door repeatedly.
Dark metal pans and glass dishes behave differently from light aluminum, and food can brown unevenly for reasons that have nothing to do with the oven. Before blaming the appliance, try the same recipe on a single light-colored sheet on the center rack.
If the same sheet still browns on one side only, rotate it halfway and watch which side leads. Consistent hot spots point at airflow or element behavior, which a technician can test directly. Rotating the sheet also helps separate a pan problem from an oven problem, since a pan problem moves with the pan.
Mild drift can be managed with a thermometer and a bit of patience. It becomes a stop-using situation when the oven overshoots badly, shows a thermal or sensor message, smells of burning or hot insulation, or trips the breaker.
If your oven is part of a range, the same logic applies to the whole appliance. See the Bertazzoni oven repair page for how a visit works, and the guide on convection fan checks if the fan is your suspect. A short log of readings at your next booking request helps a great deal.
Small variation around the set point is part of how ovens cycle. A steady gap of 25 degrees or more, or a gap that is growing, deserves a measured check.
The weather does not change the cavity directly. Moisture and salt can affect connectors and sensors over time, which can shift what the control reads.
Only if your manual describes it for your model. Offsets mask a failing sensor, so record the true gap first.
Usually not. Sensors, seals and fans are common causes, and each can be tested before replacement is considered. Which of them applies is what the measurement settles.
Share a few details and we’ll confirm an appointment. Prefer to talk? Call us and we’ll help right away.